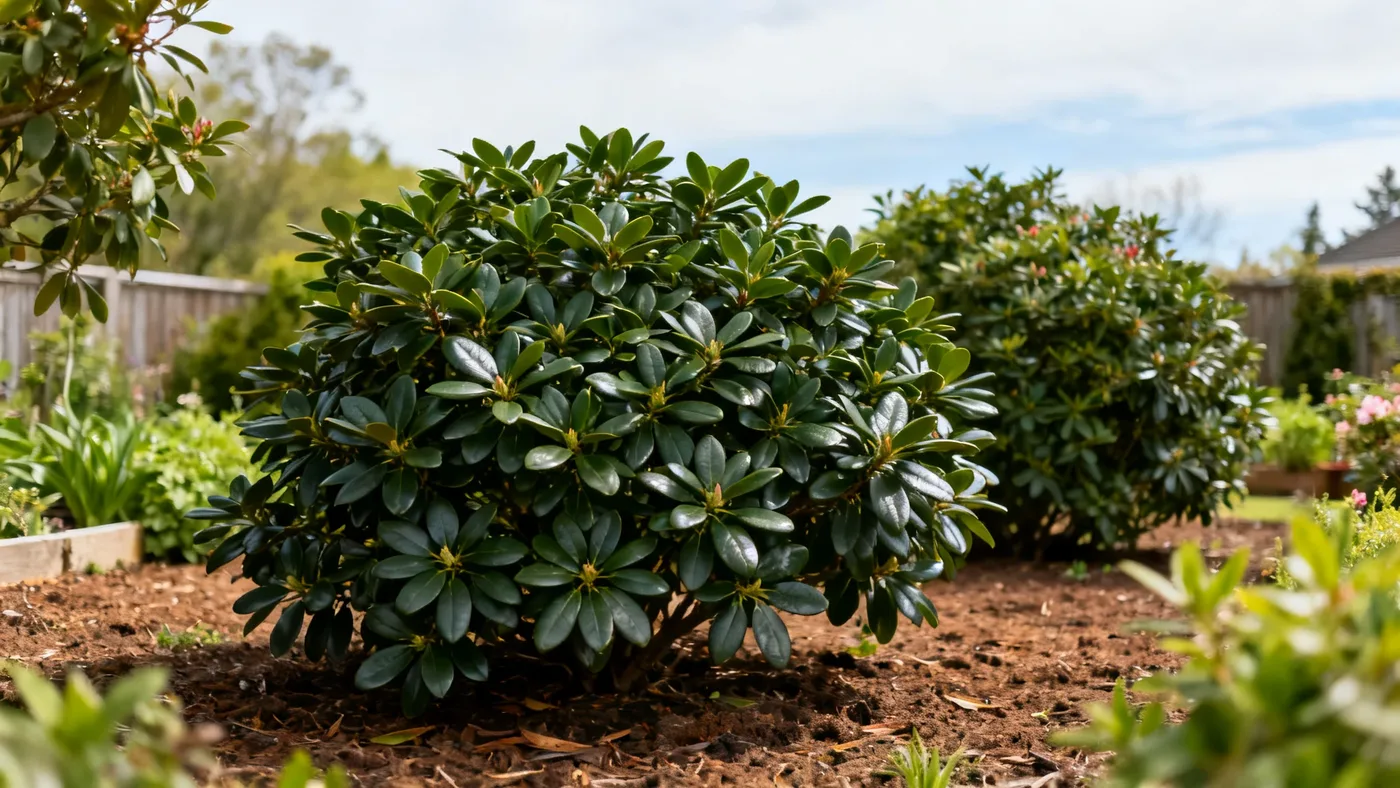
Best Soil for Formosa Azalea: pH, Drainage and Amendments
Formosa Azalea (Rhododendron 'Formosa') is as particular about its soil as it is striking in bloom. The glossy magenta flowers that captivate gardeners every spring depend entirely on what lies beneath the surface. Unlike many ornamental shrubs that tolerate a range of soil types, this broadleaf evergreen demands acidic, humus-rich, well-drained conditions. Get the soil wrong and you'll face chlorosis, root rot, and stunted growth. Get it right and you'll have a vigorous plant that flowers reliably for decades.
This guide walks you through building the ideal soil environment for Formosa Azalea, whether you're planting a new specimen or rehabilitating a struggling one.
Why Soil Composition Matters for Formosa Azalea
Formosa Azalea evolved in acidic woodland soils with high organic matter and excellent drainage. It is intolerant of heavy, wet clay. When grown in alkaline soil or poorly drained conditions, the roots cannot absorb nutrients efficiently, leading to yellowing foliage (chlorosis) even when nutrients are present in the soil. Waterlogged soil invites Phytophthora root rot, a fungal disease that kills roots and girdles the plant from the ground up.
The three pillars of Formosa Azalea soil are acidity, drainage, and organic matter. Each is non-negotiable.
Soil pH: The Foundation
Formosa Azalea performs best in soil with a pH between 4.5 and 6.0. This acidic range is critical. At pH 7.0 or above (neutral to alkaline), iron and other micronutrients lock up chemically, becoming unavailable to the roots. The plant starves despite plenty of nutrients in the soil.
If your soil pH is higher than 6.0, you cannot simply water it into the correct range. You must amend the soil or rebuild it. Home testing kits are available at garden centers, or you can submit a soil sample to your local cooperative extension service for a complete analysis. The extension report will identify your pH and recommend sulfur application rates if acidification is needed.
Drainage: Preventing Root Rot
Even in acidic soil, Formosa Azalea will decline if water pools around the roots. The plant demands soil that holds moisture for regular uptake but drains excess water within a day of watering or heavy rain. Clay soils and compacted soils fail this test. Water lingers, and root rot follows.
Well-drained does not mean dry. It means that after a soaking rain or watering session, the soil around the roots feels moist but not soggy, and standing water does not accumulate on the soil surface. This is the sweet spot: regular, even moisture without waterlogging.
Organic Matter: Building the Living Soil
Humus-rich soil works like a sponge for Formosa Azalea. Organic matter aerates the soil, improves drainage in clay soils, and feeds the beneficial microorganisms that help roots absorb nutrients. As organic matter breaks down, it slowly acidifies the soil, maintaining the pH the plant needs year after year.
Without organic matter, you're left with mineral soil alone. Formosa Azalea cannot thrive there. The amendment process is not optional; it's the difference between a struggling plant and one that thrives.
Materials and Ingredients You'll Need
Assemble these materials before you begin amending or preparing planting beds:
- Peat moss or coconut coir (acidic, moisture-retentive amendment)
- Aged bark chips or composted pine bark (provides structure and acidity)
- Compost or leaf mold (adds organic matter and feeds the soil)
- Elemental sulfur (to acidify alkaline soils, if needed based on your pH test)
- Soil pH test kit or a soil sample for extension testing
- Coarse sand or perlite (optional, if your native soil is extremely clay-heavy)
- Mulch material (aged bark chips or composted pine bark for top dressing)
Step-by-Step: Preparing the Soil for Formosa Azalea
Step 1: Test Your Soil pH
Before amending, know what you're working with. Use a home pH kit or send a sample to your extension service. Dig 6 inches deep from multiple spots in the planting area (at least three locations) and mix the samples together. This composite sample is more representative than a single spot test.
If your pH is already 4.5 to 6.0 and your soil drains well, proceed to soil aeration (Step 2). If pH is above 6.0, you'll need to acidify. If the soil holds water or feels like putty when squeezed, you'll need to improve drainage (Step 3).
Step 2: Aerate Compacted Native Soil
If your soil has not been worked in years, or if the planting area was previously lawn or hardscape, aerate it first. Break up the soil to a depth of at least 12 inches using a broadfork, garden spade, or tiller. Do not compact the soil afterward by walking on it heavily. This step opens air pockets that roots need and prepares the bed for amendment to follow.
Step 3: Incorporate Acidic Organic Matter
Remove the top 12 to 18 inches of existing soil if it is heavy clay or highly alkaline (pH above 7.0). Replace it with an amendment mix or blend the amendments directly into the aerated native soil. Aim for this ratio by volume:
- 40 percent peat moss or coconut coir
- 30 percent aged bark chips or composted pine bark
- 20 percent compost or leaf mold
- 10 percent coarse sand or perlite (if native soil is clay-heavy)
Mix these thoroughly, breaking up clumps as you blend. The final texture should crumble in your hand and feel airy, not dense. If you are amending an existing bed rather than creating a new one, work the amendments into the top 12 inches of soil rather than removing and replacing it entirely.
Step 4: Acidify If Needed
If your soil pH is above 6.0, apply elemental sulfur according to your extension service's recommendation. Home kits are less precise for calculating sulfur rates; extension guidance is more reliable. Mix the sulfur into the top 8 inches of the amended soil. It will take several weeks to months for sulfur to lower pH, so apply it well before planting if possible. Retest after 6 to 8 weeks to confirm acidification has taken effect.
Step 5: Create Proper Planting Geometry
Formosa Azalea should sit at or slightly above the surrounding soil surface after planting. Mound the amended soil gently around the root ball so that water sheds outward and does not pool around the stem. This is especially critical in regions with high humidity or frequent rainfall, where standing water invites disease.
Space multiple plants 4 to 6 feet apart if you're establishing a mass planting or hedge. This spacing ensures air circulation and makes pruning easier as they mature to their eventual height of 6 to 10 feet.
Step 6: Mulch the Planting Area
Apply 2 to 3 inches of aged bark chips or composted pine bark around the base of the plant, stopping about 2 inches from the stem. Mulch serves a dual purpose: it moderates soil temperature and moisture, keeping roots cool and evenly hydrated, and it continues to break down and acidify the soil over time. Top up the mulch annually to maintain the 2 to 3 inch depth as it decomposes.
Tips and Common Mistakes
Mistake: Planting too deep. The flare where roots meet the stem should be visible at or just above the soil line. Planting the stem below ground traps moisture around the lower trunk and invites rot. The only exception is if you've built a mound to improve drainage; then the stem may sit in the center of the mound with the flare slightly above the surrounding grade.
Mistake: Using fresh pine needles as mulch. Fresh needles are extremely acidic and can burn foliage and damage stem tissue. Use aged or composted bark only.
Mistake: Relying on peat moss alone. While peat moss is acidic and moisture-retentive, it lacks the air porosity that bark chips provide. Always combine peat with structural amendments for best results and long-term soil structure.
Mistake: Ignoring drainage when planting in a low spot. Even perfect soil becomes waterlogged if planted in a depression. Ensure the area slopes away from the plant so water runs off naturally after rain.
Tip: Start with a small amendment area in doubt. If you are uncertain about your soil type or want to test your approach, amend a 3 to 4 foot diameter circle around the planting hole rather than the entire bed. As the plant grows and the roots expand, you can widen and deepen the amended area over subsequent seasons.
Tip: Retest pH every 2 to 3 years. Organic matter naturally acidifies soil, but hard water, alkaline rainfall, or accumulated salts can gradually shift pH upward. Periodic testing ensures you catch drift before it affects plant health and flowering.
Tip: Top-dress with mulch each spring. As the existing mulch layer breaks down and becomes part of the soil, add fresh material to maintain 2 to 3 inches. This keeps adding acidic organic matter to the root zone.
Expected Results
Formosa Azalea planted in properly prepared acidic, well-drained, humus-rich soil typically establishes quickly. Growth rates are roughly 1 to 2 feet per year once established. Foliage remains deep green and glossy. Flowering begins the first spring after planting, with full florescence expected by year two.
Plants may appear stressed initially (slower growth, lighter foliage color) during the first growing season in a new location; this is normal as roots explore the new soil. With good soil and consistent moisture during the first two years, dieback and drought stress become rare. Root rot risk drops dramatically when drainage is optimized. Chlorosis should not occur if pH is maintained in the target range of 4.5 to 6.0.
Next Steps
After planting in well-prepared soil, focus on consistent watering during the first two years and strategic pruning to shape the plant. For complete care guidance, including fertilizing schedules and pest management, see our Formosa Azalea care guide.
Quick Reference: Soil Preparation Checklist
| Task | Target Specification | When to Do It |
|---|---|---|
| Soil pH test | 4.5 to 6.0 (acidic range) | Before planting or amending |
| Aerate compacted soil | 12 inches deep minimum | Before amendment |
| Incorporate peat moss or coir | 40 percent by volume | During bed preparation |
| Add aged bark chips | 30 percent by volume | During bed preparation |
| Mix in compost or leaf mold | 20 percent by volume | During bed preparation |
| Apply coarse sand (if needed) | 10 percent by volume for clay-heavy soils | During bed preparation |
| Apply elemental sulfur (if needed) | Per extension recommendation | 6 to 8 weeks before planting |
| Position plant at soil line | Stem flare at or above grade | At planting time |
| Space multiple plants | 4 to 6 feet apart | At planting time |
| Apply mulch layer | 2 to 3 inches, 2 inches from stem | After planting |
| Water deeply after planting | Until root zone is moist 8 to 10 inches down | Immediately after planting |
| Retest pH | 4.5 to 6.0 | Every 2 to 3 years |