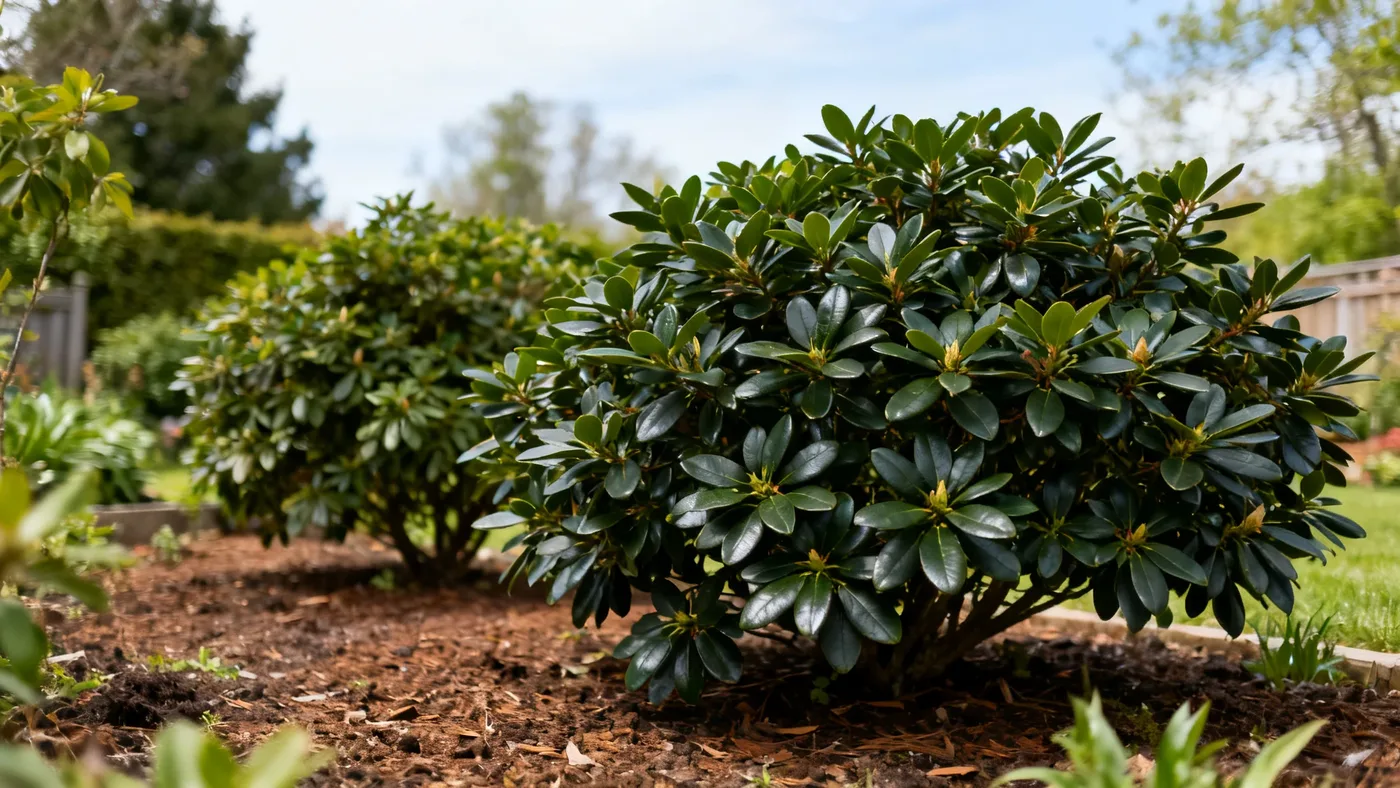
9 Common Formosa Azalea Problems and How to Fix Them
Formosa Azaleas are hardy, long-lived shrubs, but even the best-grown plants run into trouble. Whether it's a pest infestation, a disease, or stress from soil and water conditions, knowing what's wrong and how to fix it makes the difference between a sick plant and a thriving one. Here are the nine most common formosa azalea problems you'll encounter, along with actionable solutions.
1. Azalea Lace Bug Damage
Azalea lace bugs are small insects that feed on the undersides of leaves, leaving a speckled or bleached appearance on the upper leaf surface. The damage typically shows up mid-to-late summer, when warm weather accelerates their breeding. You'll notice a fine, lacy stippling on the foliage, sometimes accompanied by a brown varnish (their droppings) on the undersides of leaves. A heavy infestation can turn an entire section of foliage pale yellow or bronze.
The key to lace bug control is early detection and consistent treatment. Inspect the undersides of leaves starting in early June, especially during dry spells when lace bugs thrive. Once you spot them, spray the affected branches with insecticidal soap or a horticultural oil, making sure to coat both leaf surfaces. Repeat every 7 to 10 days as needed. Keep the plant consistently watered to reduce stress and improve its ability to tolerate light feeding damage. In severe cases, remove heavily infested branches entirely to prevent the infestation from spreading.
Practical takeaway: Scout leaves weekly during summer; spray at first sign of stippling; consistent water keeps plants resilient.
2. Spider Mite Infestations
Spider mites are nearly invisible pests that feed on leaf cells, causing a fine speckling and eventual yellowing or bronzing of foliage. They proliferate in hot, dry conditions and can build up quickly once they establish. Unlike lace bugs, spider mites thrive in full sun and low humidity. You may notice fine webbing on new growth or a dusty appearance on leaves. The damage often appears first on the sun-facing side of the plant.
Prevention is easier than treatment. Maintain consistent soil moisture and provide afternoon shade in hot climates (zones 9 and 10, or the hottest parts of zone 8) to keep the plant from stressing. If you detect spider mites, start with a forceful spray of water to knock them off, then follow up with insecticidal soap or sulfur dust every 5 to 7 days. Do not apply sulfur if temperatures exceed 85 degrees Fahrenheit, as it can scorch foliage. Horticultural oils are also effective, but avoid spraying during extreme heat. Repeat treatments as needed until no new stippling appears for two weeks.
Practical takeaway: Water regularly and provide afternoon shade; spray mites with water first, then insecticidal soap; skip sulfur in heat.
3. Scale Insects
Scale insects are armored pests that attach to stems and leaf veins, appearing as small, waxy bumps. Unlike mobile insects, scales stay in one spot and feed on plant sap. Formosa Azaleas in low-vigor sites or under stress from poor drainage are more susceptible. A light infestation may go unnoticed for months, but once scales multiply, they weaken the plant and attract sooty mold, which coats leaves in a black fungal film.
Prune out heavily infested branches first, then spray with horticultural oil in late winter (February or early March in zone 8, earlier in warmer zones). Horticultural oils suffocate scale eggs and young crawlers. A second application 7 to 10 days later catches newly hatched scales. Do not spray horticultural oils during frost risk or on plants actively flowering. For scale, timing matters more than frequency; hitting them in late winter before they break dormancy gives you the best results.
Practical takeaway: Remove heavily infested branches; spray horticultural oil in late winter before new growth; apply a second dose one to two weeks later.
4. Azalea Caterpillar Defoliation
Azalea caterpillars are the larval stage of sawflies and moths. They skeletonize leaves (eating all tissue except the veins) or roll leaves into shelters and feed inside. Damage is most visible in late spring and early summer. A small population causes cosmetic damage, but a heavy infestation can strip entire branches bare, weakening the plant for the season ahead. You may see dark green or brownish caterpillars clustered on new shoots or inside rolled leaves.
Hand-pick caterpillars and remove infested leaves or leaf rolls when populations are small. For larger infestations, apply Bacillus thuringiensis (Bt), a biological insecticide that targets caterpillars without harming beneficial insects. Spray Bt in the late afternoon when caterpillars are most active, and repeat every 7 to 10 days as needed. Bt works best on young caterpillars, so early detection is key. Once caterpillars pupate and move on, remove any remaining heavily damaged foliage to improve air circulation and reduce disease pressure.
Practical takeaway: Hand-pick small populations; use Bt spray for heavy infestations; apply in late afternoon every 7 to 10 days.
5. Petal Blight
Petal blight, caused by the fungus Ovulinia, appears as small water-soaked spots or blotches on flower petals during or just after bloom. The spots enlarge and darken, eventually causing entire flowers to collapse and drop. The disease spreads in wet, cool spring weather (typically March through April, depending on zone). Affected petals may fall to the ground or hang limply on the flower cluster. In severe years, petal blight can destroy the entire spring display.
Prevention is the most practical approach. Improve air circulation by pruning out crossing or crowded branches in summer (after flowering finishes). Avoid overhead watering during bloom, as wet petals are more susceptible to infection. Water at soil level instead. If you live in a high-rainfall region or have had petal blight before, consider applying a fungicide (copper-based or sulfur) just before flowers open. Remove infected flowers promptly and dispose of them in the trash, not compost, to prevent spores from spreading. Hard freezes just before bloom also reduce Ovulinia spore viability.
Practical takeaway: Prune for air circulation; water soil, not foliage, during bloom; apply preventive fungicide if petal blight is common in your area; remove infected flowers.
6. Azalea Leaf Gall
Azalea leaf gall, caused by the fungus Exobasidium, produces thick, fleshy, pale-colored galls (swollen growths) on leaves. The affected leaves become distorted and eventually drop. Galls may be so large they cover half the leaf surface. The disease is most noticeable in spring and early summer when new leaves are emerging. Cool, wet spring weather creates ideal conditions for the fungus to spread.
Remove infected leaves by hand and dispose of them (not in compost). Pruning out infected shoots also helps limit spread. Leaf gall does not require chemical treatment in most cases. Instead, focus on improving conditions that favor the disease: ensure the plant has good air circulation, prune away crossing branches, and avoid wetting foliage when watering. If galls appear year after year on the same plant, fungicide sprays in spring (before or just as new leaves emerge) can help suppress the disease. Once galls form, fungicides have little effect, so timing is critical.
Practical takeaway: Hand-pick and remove infected leaves; improve air circulation through pruning; apply preventive fungicide in spring if galls return annually.
7. Powdery Mildew
Powdery mildew appears as a white, flour-like coating on leaves, typically on new growth or in shaded areas. It does not kill the plant but weakens it and reduces the visual appeal of foliage. Powdery mildew is more common in regions with dry air and cool nights. Unlike fungal diseases that need wet foliage, powdery mildew thrives in dry conditions. Dense shade can also increase susceptibility by reducing air movement around the plant.
Prune out shaded lower branches to improve air circulation and light penetration. If mildew persists, spray with sulfur dust or a sulfur-based fungicide every 10 to 14 days starting as soon as white coating appears. Avoid sulfur if temperatures exceed 85 degrees Fahrenheit. Neem oil is another option but is less effective than sulfur. Water at soil level to keep foliage dry. A light infection may not require treatment; many gardeners simply prune more aggressively to improve air flow and accept minor cosmetic damage.
Practical takeaway: Improve air circulation and light; apply sulfur fungicide every 10 to 14 days if treatment is needed; avoid sulfur above 85 degrees Fahrenheit.
8. Chlorosis (Yellowing Leaves)
Chlorosis shows as yellowing leaves with green veins still visible. The plant looks pale or washed out even though the shrub is growing. The culprit is usually alkaline soil. Formosa Azaleas require acidic soil with a pH between 4.5 and 6.0. Soils above pH 6.5 lock up iron and other micronutrients, preventing the plant from absorbing them even if they are present. Yellowing commonly appears on new spring growth or on leaves exposed to full sun.
Test your soil pH using a home kit or your local extension service. If pH is above 6.5, acidify the soil by amending it with sulfur or peat moss at planting time. For established plants, apply iron chelate spray (a fast-acting foliar treatment) or an acid-forming azalea fertilizer in early spring and again in mid-summer. Mulch around the base with 2 to 3 inches of pine needles or composted bark to help maintain acidic conditions. If the soil is severely alkaline (pH 7.5 or higher), moving the plant to a raised bed or container with acid potting soil may be the most practical fix.
Practical takeaway: Check soil pH; apply iron chelate spray for quick recovery; amend soil with sulfur or acid mulch; consider moving to a raised bed if soil is very alkaline.
9. Dieback and Root Rot from Wet Soil
Dieback starts at branch tips and works back toward the trunk. Leaves brown and drop, and eventually entire branches die. The cause is usually root rot, triggered by waterlogged or compacted soil. Formosa Azaleas need well-drained, humus-rich soil. Heavy clay or poorly drained sites trap water around the roots, creating conditions for Phytophthora (a water-mold pathogen) to thrive. Plants may look fine for months, then suddenly collapse when root damage becomes severe enough to cut off water and nutrient uptake.
Prevention is critical because once root rot is advanced, the plant is often beyond recovery. At planting time, amend heavy soil with compost and aged bark to improve drainage. The planting hole should be slightly raised above ground level. Avoid mulching directly against the stem, as this traps moisture and promotes rot. Water deeply but infrequently rather than daily sprinkling. If the plant is already showing dieback, remove affected branches and check the soil moisture. If it is constantly wet, stop watering and improve drainage by adding compost or creating a rain garden to direct water away. Repot container plants into fresh, fast-draining azalea-specific potting soil if roots are visibly soft or dark.
Practical takeaway: Plant in well-drained soil amended with compost; avoid waterlogged sites; water deeply but infrequently; prune out dead branches; improve drainage if dieback appears.
Quick Reference: Formosa Azalea Problems at a Glance
| Problem | Signs | Best Control | Timing |
|---|---|---|---|
| Azalea lace bug | Speckled, bleached leaves; brown droppings on undersides | Insecticidal soap or horticultural oil | June-August; spray every 7-10 days |
| Spider mites | Fine webbing, stippled leaves, bronzing | Water spray, then insecticidal soap or sulfur | Summer; repeat every 5-7 days |
| Scale insects | Waxy bumps on stems and leaf veins | Horticultural oil | Late winter (Feb-Mar, zone 8) |
| Azalea caterpillar | Skeletonized or rolled leaves; caterpillars visible | Hand-pick or Bacillus thuringiensis (Bt) | Late spring-early summer; Bt every 7-10 days |
| Petal blight | Water-soaked spots on petals; flowers collapse | Remove infected flowers; fungicide spray | March-April during bloom; prevent before flowers open |
| Azalea leaf gall | Thick, fleshy, pale galls on leaves | Hand-pick infected leaves; fungicide (preventive) | Spring; apply fungicide as new leaves emerge |
| Powdery mildew | White, flour-like coating on leaves | Sulfur dust or sulfur fungicide | As soon as coating appears; spray every 10-14 days |
| Chlorosis (yellowing) | Yellowing leaves with green veins visible | Iron chelate spray or acid fertilizer; amend soil | Spring and mid-summer; check pH |
| Dieback and root rot | Branch tips brown and die back; leaves drop | Improve drainage; prune dead wood; reduce watering | Prevent at planting time; prune as needed |
For a complete guide to keeping your Formosa Azalea healthy year-round, including planting, fertilizing, pruning, and seasonal care, see our Formosa Azalea care guide.