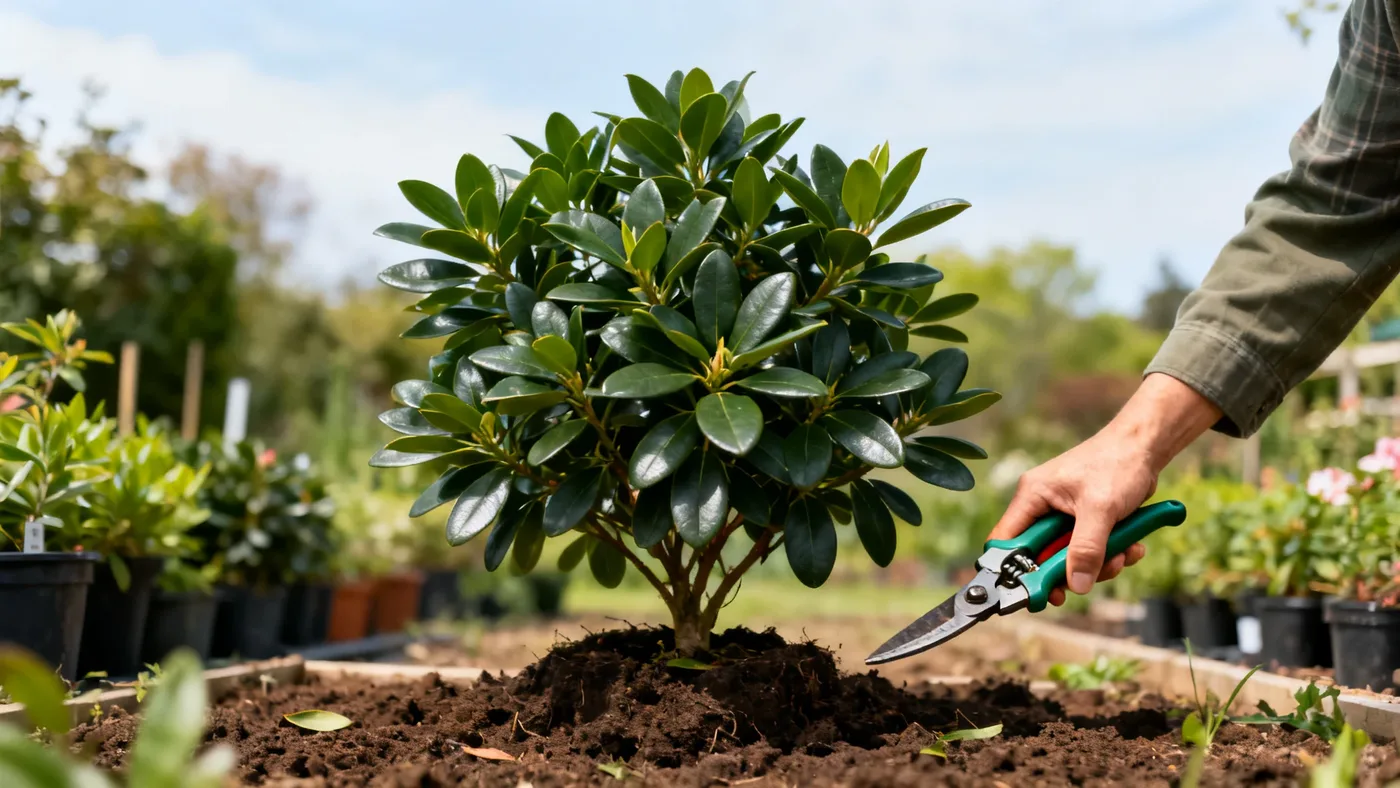
How and When to Prune Your Formosa Azalea Shrub
Pruning a Formosa Azalea isn't complicated, but timing matters more than technique. Prune at the wrong time of year and you'll remove next spring's flower buds. Prune at the right time with the right approach, and you'll maintain a dense, well-shaped shrub that blooms reliably year after year. This guide walks you through the pruning formosa azalea process, from understanding the plant's growth cycle to the final cuts.
Why Pruning Formosa Azalea Matters
Formosa Azaleas are vigorous broadleaf evergreen shrubs that can reach 6 to 10 feet tall with age, or even taller if left unpruned. Without pruning, the plant grows taller and lankier each year, losing density in the lower branches and producing flowers only at the top. Regular pruning keeps your shrub compact, encourages branching at multiple heights, and ensures that magenta-purple blooms cover the entire plant rather than just the outer edges.
Proper pruning also removes dead or diseased wood, improves air circulation (which helps prevent fungal issues), and shapes the plant to fit your landscape. Unlike some shrubs that tolerate hard cutting almost anytime, when to trim formosa azalea depends on when the plant sets its flower buds for the following year.
The Critical Timing Window: Prune Right After Bloom
Here's the key to successful formosa azalea pruning guide work: prune immediately after flowering finishes. In most zones, Formosa Azaleas bloom in early to mid-spring, typically March through April. Once the last flowers have faded, you have a narrow window to prune safely.
Why this timing matters is simple. Formosa Azaleas set their flower buds for the next year on the new growth that emerges in spring and summer. If you prune after mid-summer, you risk cutting off branches that already hold next year's flower buds, resulting in a bloom-free spring. Wait too long into summer, and the plant's buds will be set for the following year, making your pruning pointless or counterproductive.
Think of your pruning window this way: finish all cutting back formosa azalea work by early summer. If your plant blooms in March, prune by mid-May. If it blooms in April, aim to finish pruning by early June. The exact timing depends on your zone and local spring weather, but the rule stays the same: prune once flowering ends, before mid-summer arrives.
Materials and Tools You'll Need
Pruning doesn't require a large investment in tools. Gather these items before you start:
- Hand pruners (bypass type, not anvil): ideal for branches up to 0.5 inch in diameter
- Pruning saw: for branches thicker than 0.5 inch
- Loppers: for reaching and cutting branches 0.5 to 1.5 inches in diameter
- Hedge shears (optional): for shaping and light trimming on younger, smaller plants
- Pruning sealer or wound dressing (optional): not required for Formosa Azaleas, which compartmentalize wounds naturally
- Heavy-duty gloves and long sleeves: Formosa Azaleas are evergreen with dense foliage, and you'll be working in and around branches
- Eye protection: small clippings and twigs can fly unexpectedly
- Trash bags or a tarp: collect clippings as you go
Before you start, clean your tools. Wipe blades with rubbing alcohol or a cloth dampened with a 10 percent bleach solution. Clean tools prevent spreading fungal diseases or pest issues from one plant to another.
Step-by-Step Pruning Instructions
Step 1: Assess the Plant and Set Your Goals
Stand back 10 to 15 feet from your plant and look at its overall shape. Ask yourself: does it need light shaping, moderate reduction, or hard rejuvenation? Formosa Azaleas tolerate cutting better after they're established, but you'll still want to work gradually rather than removing more than one-third of the plant's total growth in a single year. If the shrub is very overgrown or has deadwood throughout, you may spend the first year removing dead material and opening the center, then shaping more aggressively the following year.
Step 2: Remove Dead, Diseased, and Crossing Branches
Work methodically around the plant, identifying branches that are clearly dead (they'll be gray or brown and snap easily) or diseased (look for cankers, odd discoloration, or soft spots). Cut these back to live, healthy wood. Use your hand pruners for thin deadwood and your saw for thicker branches. Make cuts just above a healthy bud or where a branch meets the main stem, angling slightly away from the bud so water runs off.
Also remove branches that cross over each other or rub together. These create wounds and reduce airflow inside the canopy. Your goal is an open structure with air moving freely through the interior.
Step 3: Thin Out Crowded Areas
Formosa Azaleas can become dense, especially older specimens. Identify areas where branches are so thick that you cannot see daylight through the canopy. Selectively remove every third or fourth branch (rather than shearing the whole side), cutting some branches back to their base and others back by one-third to one-half their length. This thinning maintains the plant's natural shape while opening it up.
Stagger your cuts at different heights. Don't create a flat or obviously manicured appearance. Azaleas look best when they retain their natural mounding or rounded form.
Step 4: Reduce Height and Width
If your plant is taller or wider than desired, cut the longest stems back by one-third to one-half their length. For a 10-foot Formosa Azalea that you want to maintain at 6 to 8 feet, you might remove 2 to 3 feet from the tallest stems, cutting to a point just above an outward-facing bud or lateral branch.
Formosa Azaleas have a moderate growth rate of roughly 1 to 2 feet per year once established. Don't expect the plant to stay at a smaller size indefinitely. Your pruning controls the plant's size for one to two years before it needs shaping again.
Step 5: Shape and Finish
Step back and look at the overall outline. If needed, make small corrective cuts to even out the shape. Azaleas are forgiving and grow back quickly in the active season following pruning. Minor asymmetries will fill in within one to two months.
For young or smaller plants, you can use hedge shears for a tighter, more finished appearance. For mature specimens, hand-thinning produces a more natural look.
Tips for Successful Formosa Azalea Trimming
Prune on a dry, mild day if possible. Wet branches are harder to cut cleanly, and cold snaps shortly after pruning can stress newly cut stems. If you're working in a particularly hot or dry climate, water the plant well the day before pruning.
Cut just above a bud or branch junction, not in the middle of a stem. Buds or branch-offs give the plant a point where new growth will emerge. Cuts made in the middle of a bare stem often don't branch properly and may die back.
Don't use pruning sealer on Formosa Azaleas. These plants compartmentalize wounds naturally, and sealer can trap moisture and promote rot. Leave cuts open to air and light.
If your shrub shows signs of pests like azalea lace bug, spider mites, or azalea caterpillar, pruning is an excellent time to remove heavily infested branches entirely. Thinning also improves air circulation, which reduces humidity inside the canopy and makes the plant less attractive to spider mites and scale insects.
Common Pruning Mistakes to Avoid
Don't prune after mid-summer. This is the most costly mistake because you'll be cutting off developing flower buds. If you miss the post-bloom window, skip pruning and wait until after the next spring bloom.
Don't remove more than one-third of the plant's foliage in a single year, especially on younger plants. Severe cutting stresses the plant and may result in sparse growth or poor blooms the following spring.
Don't shear the plant into a ball or cone shape. Formosa Azaleas have attractive natural forms, and heavy shearing creates a dense outer shell that prevents light from reaching the interior, leading to bare branches inside.
Don't prune when the plant is under stress from drought or extreme heat. Wait for cooler weather in spring or early summer when the plant is actively growing and can recover quickly.
Don't use hedge shears on thick or woody branches. Shears crush and tear branch ends, creating jagged wounds that attract disease. Use hand pruners or a saw for clean cuts.
What to Expect After Pruning
After you finish cutting back formosa azalea branches, the plant may look sparse for a few weeks. This is normal. As long as you pruned after flowering and before mid-summer, your Formosa Azalea should push out new growth within two to four weeks. New shoots will emerge from buds left behind, and the plant will fill in noticeably by mid-summer.
The foliage may look different initially. New leaves on Formosa Azaleas are often lighter green than mature leaves, and they can appear slightly limp or curled for a short time. This too is normal and resolves as growth continues.
The next spring bloom may be lighter than usual if you pruned heavily, since some buds will have been removed. Subsequent years' blooms typically return to normal density as the plant settles into its new shape.
For more detailed care information, including feeding, watering, and managing common issues, refer to our formosa azalea care guide.
Quick Reference: Pruning Schedule and Checklist
| Task | Timing | Notes |
|---|---|---|
| Monitor for bloom finish | March to April (zone-dependent) | Blooms typically fade by early summer |
| Prune dead and diseased wood | Immediately after flowering | Remove any branches that are gray, brown, or obviously diseased |
| Thin crowded interior branches | Within 2 weeks of bloom finish | Remove every third or fourth branch to open the canopy |
| Reduce height and width | Within 4 weeks of bloom finish | Cut back by one-third to one-half; avoid cuts after mid-summer |
| Shape and finish cuts | Within 6 weeks of bloom finish | Make minor adjustments for balanced appearance |
| Water after pruning | Following pruning work | Keep soil consistently moist (not waterlogged) for 2 to 4 weeks |
| Next year's pruning | Following next year's bloom | Light thinning is usually sufficient for established plants |
Pre-Pruning Checklist
- Wait until flowers have completely faded (typically mid-May to early June)
- Check the calendar: confirm you're pruning before mid-summer
- Clean all tools with rubbing alcohol or dilute bleach solution
- Gather gloves, eye protection, and trash bags
- Choose a mild, dry day for pruning work
- Water the plant the day before if your region is dry
- Step back and identify dead, diseased, or crossing branches before making cuts